
Steps to Prep a Kitchen Island Countertop Before Installing the Sink
February 15, 2026
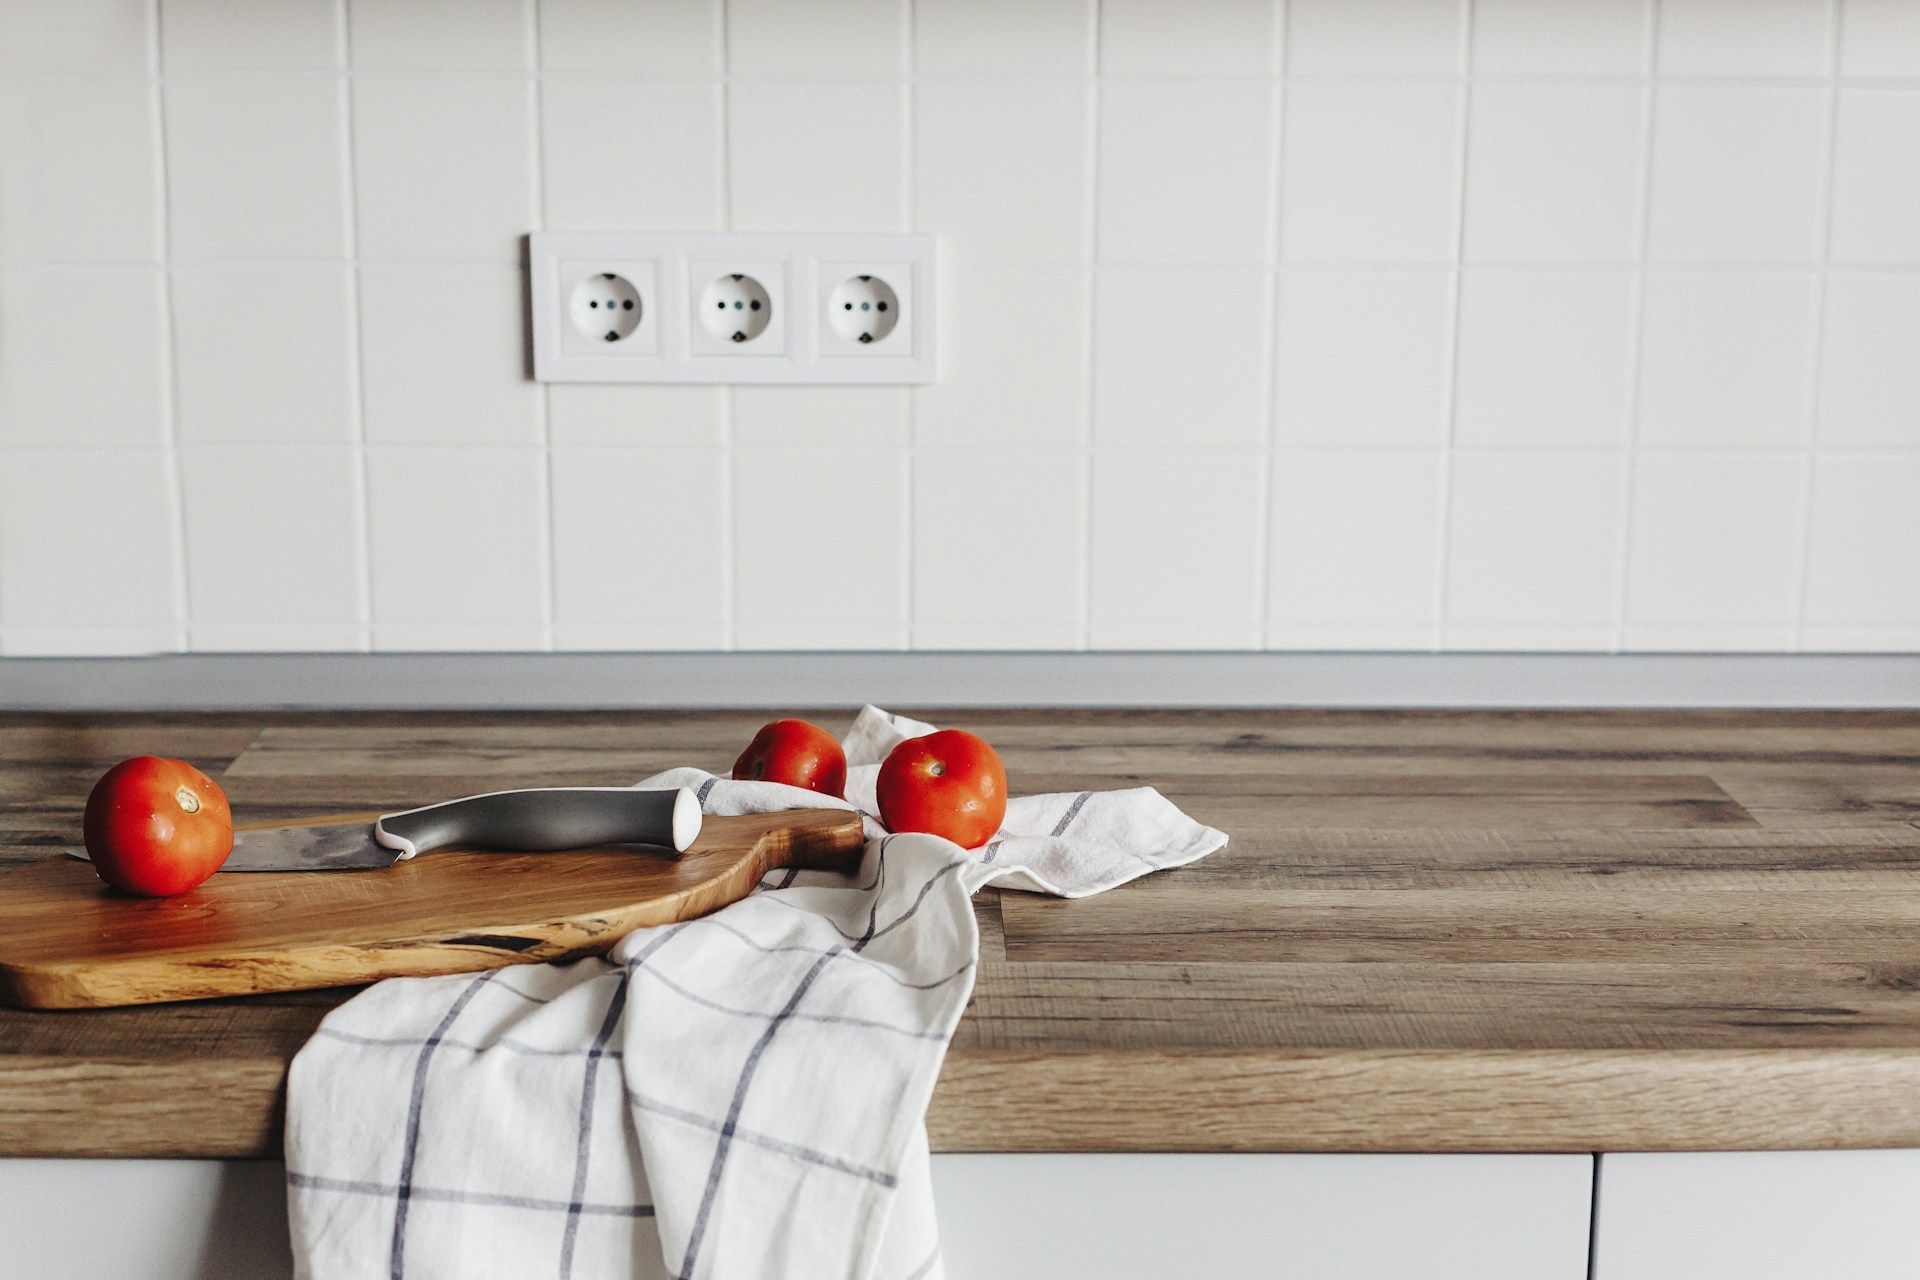
When you're getting ready to add a sink to your kitchen island countertop, it helps to plan out a few steps ahead of time. That way, once the sink goes in, everything fits the way it's supposed to, the wood stays protected, and the space works like it should. A kitchen island countertop is often the centerpiece of the room, so careful prep work sets the tone for the rest of the project.
This time of year, it's common for homeowners to finalize winter upgrades before spring projects get underway. If your plan includes adding a sink to your island, the steps you take now can make a big difference in how the countertop lasts over time. Getting the sink placement and cutout right from the start helps set you up for smooth installation and fewer surprises along the way. At The Southside Woodshop, each wood countertop is handcrafted from premium-grade lumber and shipped nationwide, so thoughtful planning supports a smooth fit once it arrives in your home.
Choose the Right Cutout Location
Before any holes are measured or wood is marked, it's important to figure out exactly where the sink should go. This choice can affect how easy the space is to use once everything is installed.
Here’s what we think through when planning sink placement:
• Will the location make prepping food or washing dishes easy?
• Is there enough space below for mounting clips, drain lines, and plumbing connections?
• Are outlets, lighting, or nearby appliances close enough to help but not so close that they cause crowding?
Even a few inches in placement can shift how the island functions. That’s why we often sketch the full kitchen space first, then decide how the sink ties in with the daily routine. Picking the right spot early also saves trouble when it’s time to measure or make actual cuts.
Measure Everything More Than Once
Once the location is set, the next step is getting exact measurements ready. This part is easy to overlook, but it matters more than most people expect.
Take time to measure the following:
• Total size of the sink
• Distance from the edge of the countertop to the sink opening
• Faucet hole locations and spacing
• Thickness and overhang of the wooden surface
A small measuring slip can lead to a sink that sits off-center or doesn’t seal well. We like to double-check all dimensions and keep notes handy throughout the layout process. A full-size paper or cardboard template often helps. Dry fitting the sink before cutting is a simple way to flag any possible issues before they become permanent.
Protect the Wood Before the Sink Goes In
The edges around a sink cutout are more exposed to water than any other part of the countertop. That’s why they need special care before the sink is added. The wood’s finish plays a big role in how well it holds up near water, and certain areas need extra coverage. We also provide an installation instruction and care guide with step-by-step direction to help prevent warping, cracking, or splitting during and after installation, including around sink cutouts.
We always recommend sealing the raw edges after the sink hole is cut. These spots will be hidden under the sink later, but they still need protection. Leaving the wood bare can invite swelling, stains, or cracking over time.
Keep in mind, wood reacts to changes in moisture and temperature. This is especially true in February when indoor air tends to be dry and kitchens warm up from frequent use. A durable finish can help the wood stay stable even when the seasons change.
Create Space for Accessories and Connections
Sinks often come with more than just a single basin. Faucets, sprayers, soap pumps, or filtered water taps may need their own holes. Under the countertop, garbage disposals or water filters need enough room to fit.
It helps to lay everything out on paper ahead of time:
• Mark where each accessory will sit
• Consider how much space is needed underneath for plumbing or mounting
• Leave enough clearance behind the sink for faucet handles to move freely
Adding these pieces after the sink is already in place can be tricky, especially if you didn’t plan for them from the beginning. We always suggest sketching out the whole setup first, so each part has the space it needs and nothing overlaps or rubs against the wood.
When to Bring in a Pro
Some steps are easier done by someone with experience, and that definitely includes cutting the sink hole into a wooden countertop. Once you cut into wood, it’s permanent. If something goes wrong, you can’t stick the piece back in. That’s why this is one area where it often makes sense to pass it off.
Professionals will have the tools and skills to:
• Make clean, even cuts that match your sink’s shape
• Seal the exposed areas to protect against everyday moisture
• Line up faucet holes with actual fixtures
Everything rests on precision. When the sink fits exactly how it’s supposed to, it makes the whole countertop look and feel right. Kicking off the job with help from someone who works with wood regularly can stop problems before they even start.
A Smooth Start Sets the Tone for a Great Finish
Simple planning steps can help your kitchen island countertop hold up through real-world use. And when the sink is placed carefully, sized correctly, and surrounded by sealed, finished wood, it’s going to make using the space easier day to day.
Taking the time to mark, measure, and think through every part of the setup makes a difference, especially in busy kitchens. What gets done before the sink goes in will affect how long the surface lasts and how good it looks doing it.
Starting plans for a new sink requires careful thought to ensure proper fit and function. We help you prepare because taking the time to protect your materials can save a lot of stress down the road, and our extensive experience with diverse layouts shows us that perfect spacing, sealing, and accessories are essential for a polished look. Our wood countertops come with a lifetime warranty against manufacturing defects, so you can feel confident that the surface you are planning now is built to last. When you design your next
kitchen island countertop, our team is ready to guide you every step of the way. Contact The Southside Woodshop to talk through your project.

Share Article
Our Latest Spotlight!