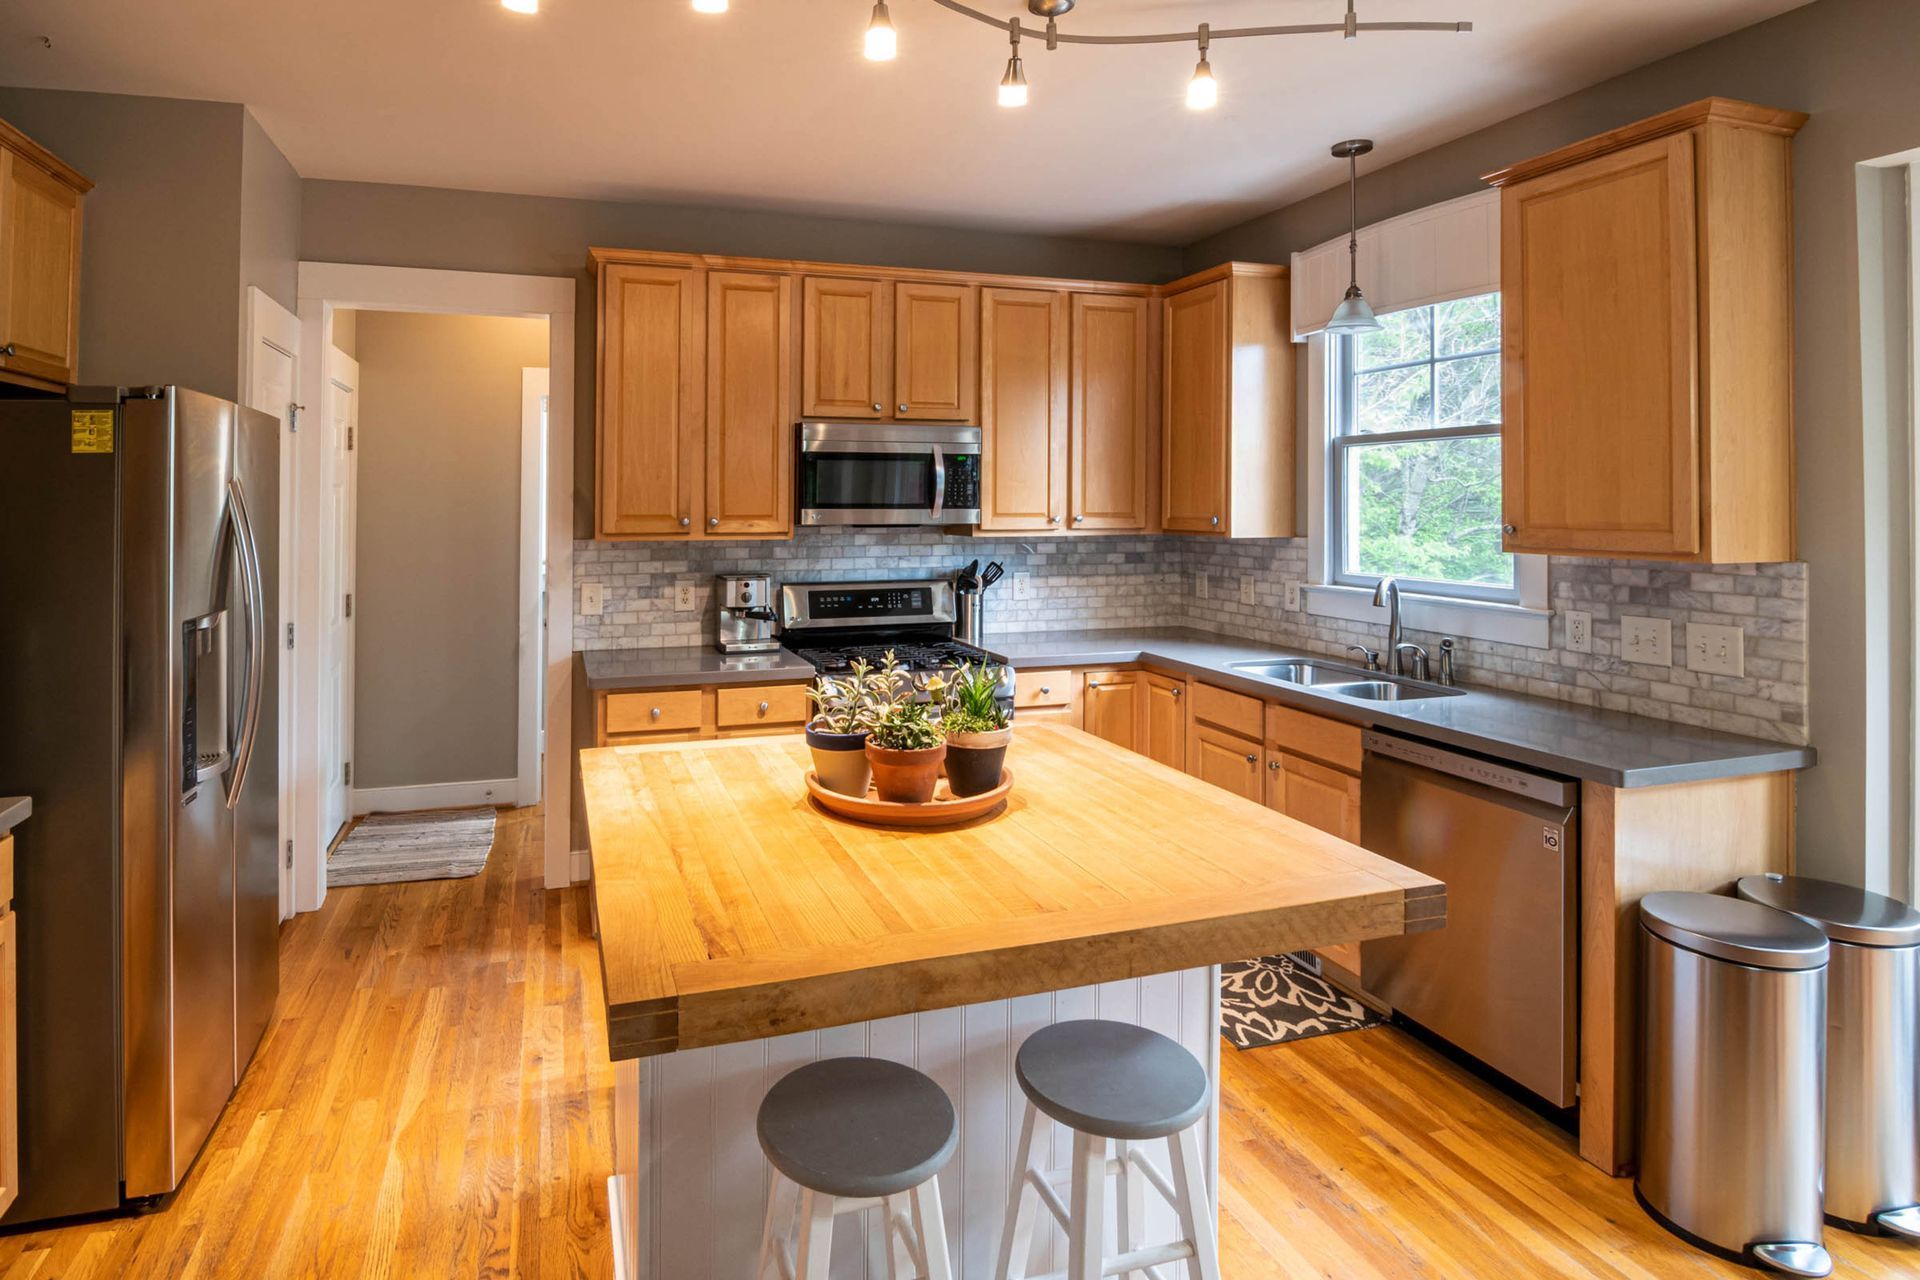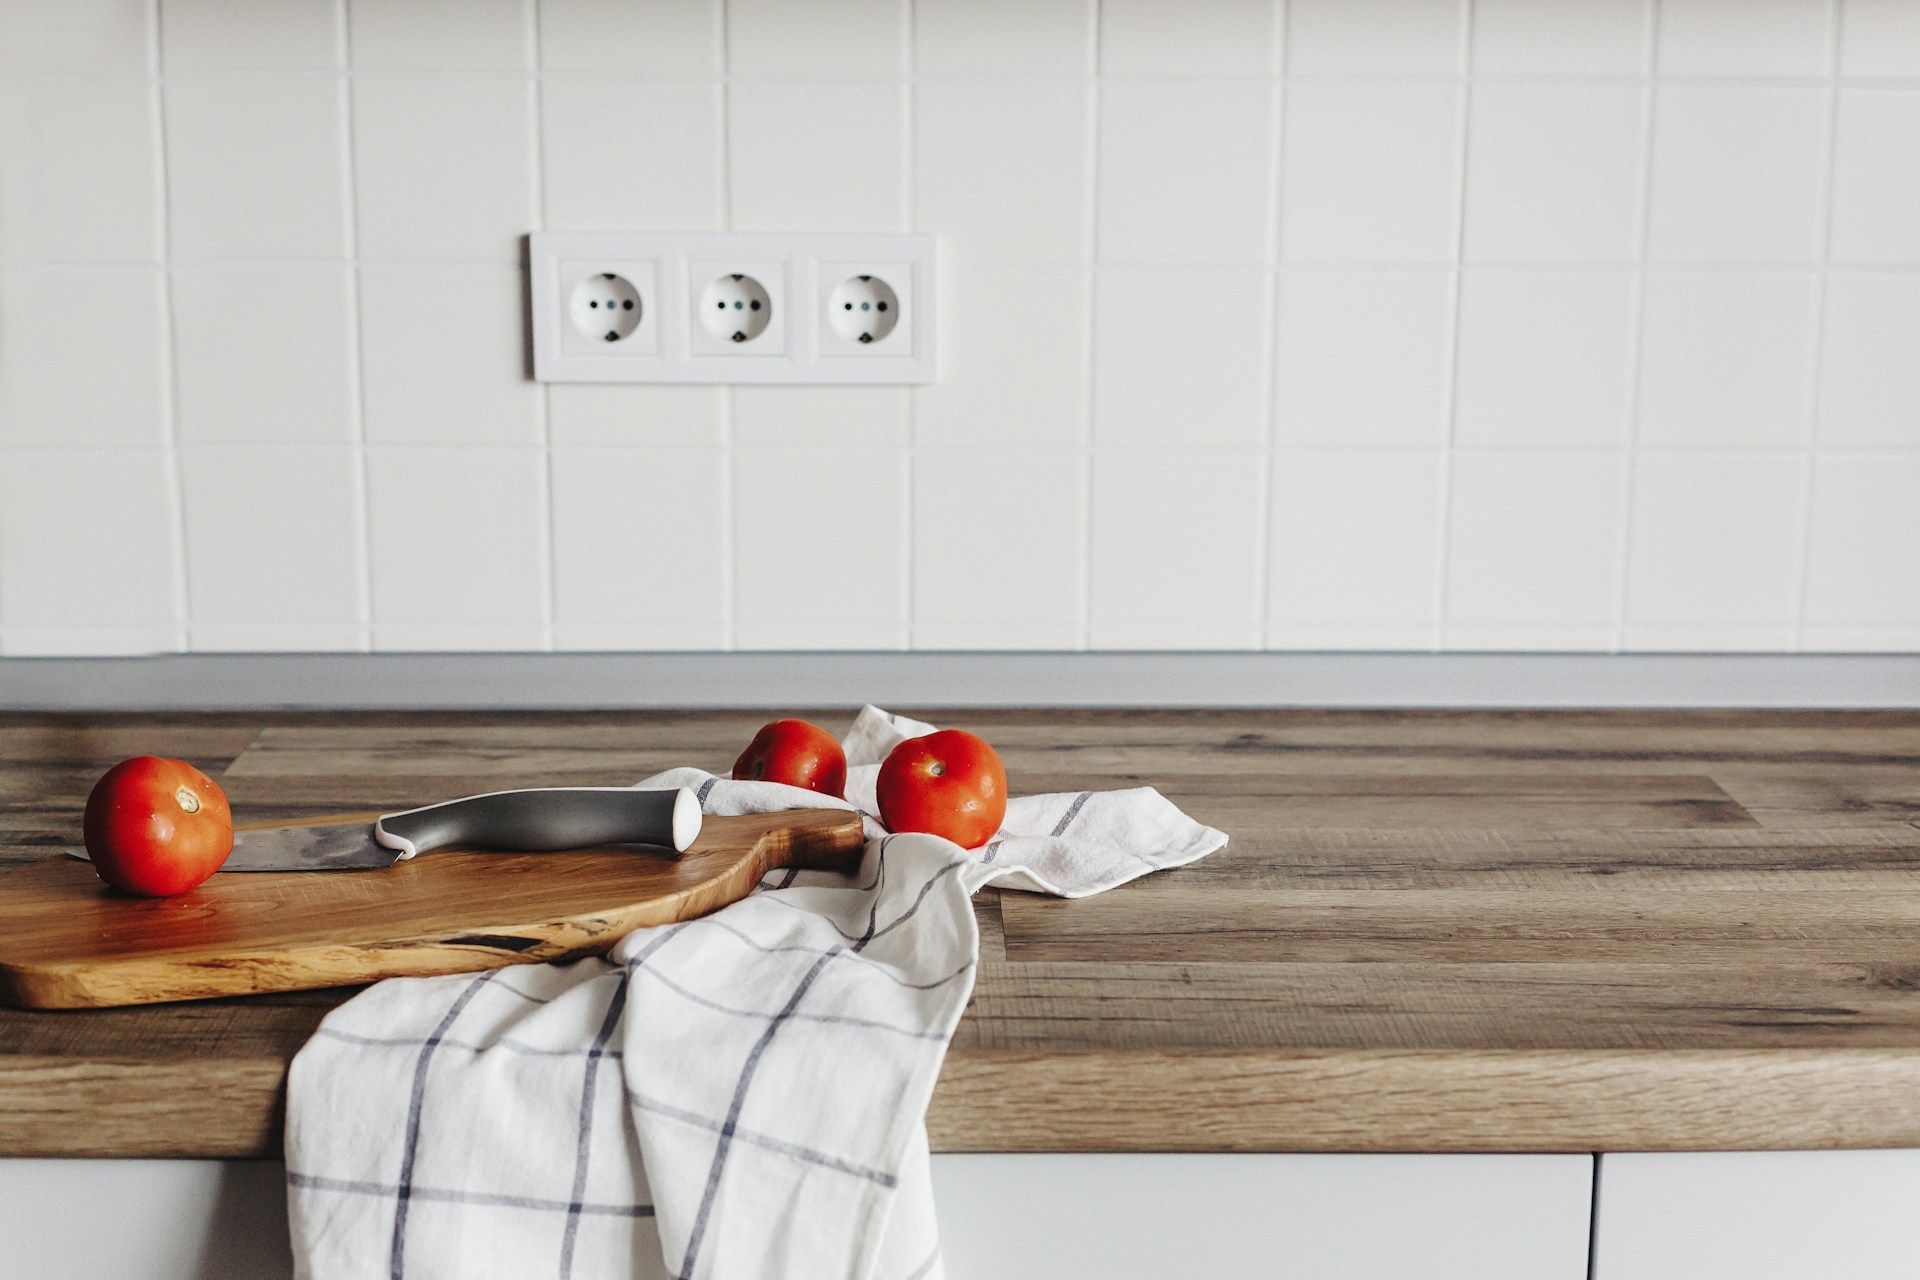

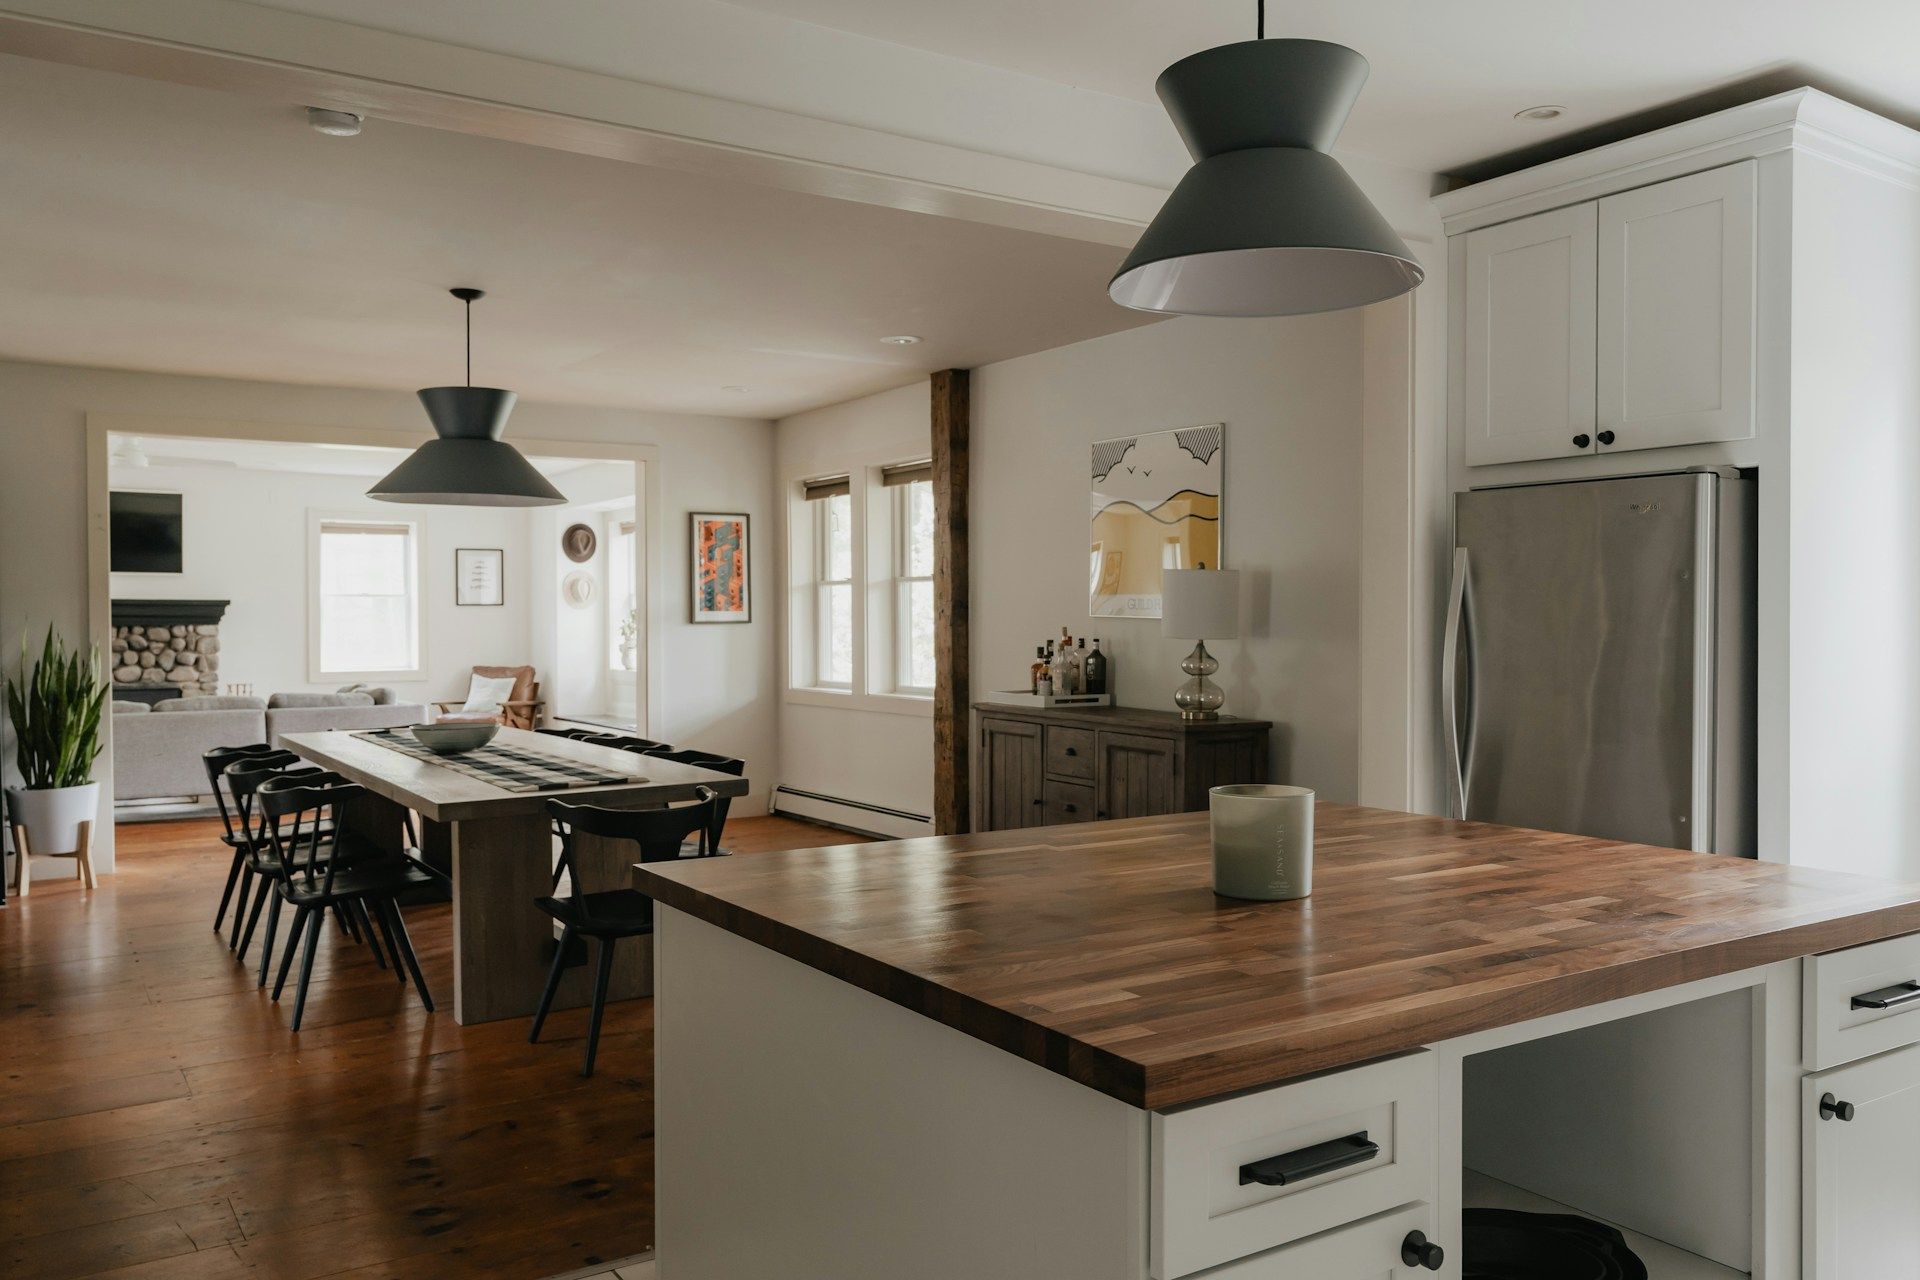
A wood block countertop brings a kitchen to life. Warm, solid, and natural, it becomes a place where prepping, slicing, and just spending time all feel more grounded. But one bad joint or small gap between sections can take away from the finished look in a second.
Seam gaps are common when things aren't set up the right way from the start. Wood moves. Houses shift. And the counters take the pressure. But there are simple ways to keep those joints tight through every season and every task. It starts with smart preparation and careful placement.
When the surface is built right, the countertop looks better and it holds up better too. That smooth, seamless feel is worth getting right on day one.
Getting the Surface Ready
Before anything gets installed, the surface underneath has to be level and steady. If the cabinets or base aren’t flat, the seams will never sit tight, no matter how good the blocks are.
Next, we check the moisture in the room and in the wood itself. Wood naturally expands or shrinks with changes in humidity. That’s why it’s a good idea to let the wood adjust to the space before installing. Setting it inside the home for a few days makes a big difference.
Here's what that setup process usually looks like:
- Check the cabinets and support base with a level
- Look for high spots, dips, or uneven edges that need fixing
- Let each wood block sit inside the home so it can adjust to the temperature and air
Getting the base right helps the whole counter stay smooth and connected. It sets the foundation for everything that follows.
Placing the Pieces the Right Way
Once the surface below is ready, the layout comes next. We want to keep sections lined up so the seams are clean, not eye-catching. That means fewer joints and placing them where they’ll be less noticeable.
Grain direction matters here too. When the wood lines move naturally from one section to the next, the counter feels like one big piece, even when it’s made from several blocks. Twisted or mismatched patterns can call attention to seams that should barely be seen.
Here are a few things we focus on during layout:
- Use longer cuts to reduce the number of joints
- Match the grain flow from one section to the next
- Leave even spacing and alignment so corners and seams line up
Planning the layout before installation helps us avoid surprises later. When everything fits together smoothly, the seams almost disappear.
Securing the Countertop Without Causing Gaps
Installing wood block sections isn’t just about sticking them down. We use strong connectors underneath the surface, but we have to let the wood breathe too. It needs room to move just a little so the seams don’t pull apart later.
Tightening everything too much can make things worse over time. When the wood tries to shift during the year, if there's no give, stress builds up at the seams.
Here’s how we make sure the joints stay tight without damage:
- Use hidden brackets or counter-fasteners that hold firm but still allow movement
- Don’t over-tighten bolts or screws that run across joints
- Add room along the edges for natural expansion
The wood may swell slightly in summer or shrink in winter, but with these steps, the seams won’t split. Everything keeps its place and does what it’s meant to.
Sealing it Smooth and Clean
Once the countertop is placed and secured, the last step is smoothing out the seams. It’s normal to have hairline gaps, especially where two blocks meet. With the right filler, we match the color and blend it in until it’s nearly invisible.
After filling the joints, we sand very lightly to get a flush feel across each section. This helps remove any ridges between blocks and leaves behind a soft, connected surface.
The final layer is the finish. It’s what protects the counter from water, stains, and everyday wear. It also plays a part in making the seams less visible.
Here’s a short list of what happens during this part of the process:
- Fill thin gaps with a color-matched wood filler or backing
- Lightly sand the joint area so it feels smooth to the touch
- Choose a finish that helps protect the wood and soften the appearance of joints
Getting the surface sealed right helps with both the look and durability. It’s a small step that keeps the countertop feeling good for a long time.
Seamless Results with the Right Help
Most seam problems start from the beginning. Uneven surfaces, rushed placement, or poor planning all show up in the little cracks between the blocks. But when things are done with care, those seams stay tight day after day.
A smooth joint looks better and holds up better too. It keeps crumbs, moisture, and wear from building up at the edges. It lets the beauty of the wood take center stage without being broken up by lines or gaps.
The strongest results come from simple steps done right. A wood block countertop can hold its shape, its color, and that seamless finish for years when it’s installed with patience and support. Getting those little things right makes the biggest difference in how the space feels every time you walk into the room.
Planning for long-lasting results means understanding the details behind a strong installation. A proper fit, good airflow, and the right support keep everything tight and looking clean. For those interested in learning more about the care and setup behind a quality
wood block countertop, we have shared step-by-step tips to guide you through the process. At The Southside Woodshop, we are here to help you make confident, well-supported choices, so contact us today to ask questions or plan your next project.
Share Article
Our Latest Spotlight!